About Me

My photo
I LOVE to design and to paint whimsical items that will put a smile on your face. Each day I share my simple life with you as I try to encourage, to inspire and sometimes JUST to make you smile as I recount my life growing up on a dairy farm! I've never had many material items in my life, BUT I have been blessed beyond words with love and encouragement from WONDERFUL Parents who instilled in me WHAT was important. I have had EVERYTHING that I needed and WAY too much of what I wanted. I am slowly learning to be a better person each day through my interactions with my friends on Facebook. Some day I hope to be as good as people seem to THINK I am! I am BLESSED! Welcome to my little corner of the world...Please stop by and visit often!
Showing posts with label Mixed Media. Show all posts

Tuesday, March 13, 2018

Give me Jesus


This has been hanging out in my head for awhile, so those that think my head is empty- na na na na na.😁😂🤣😃

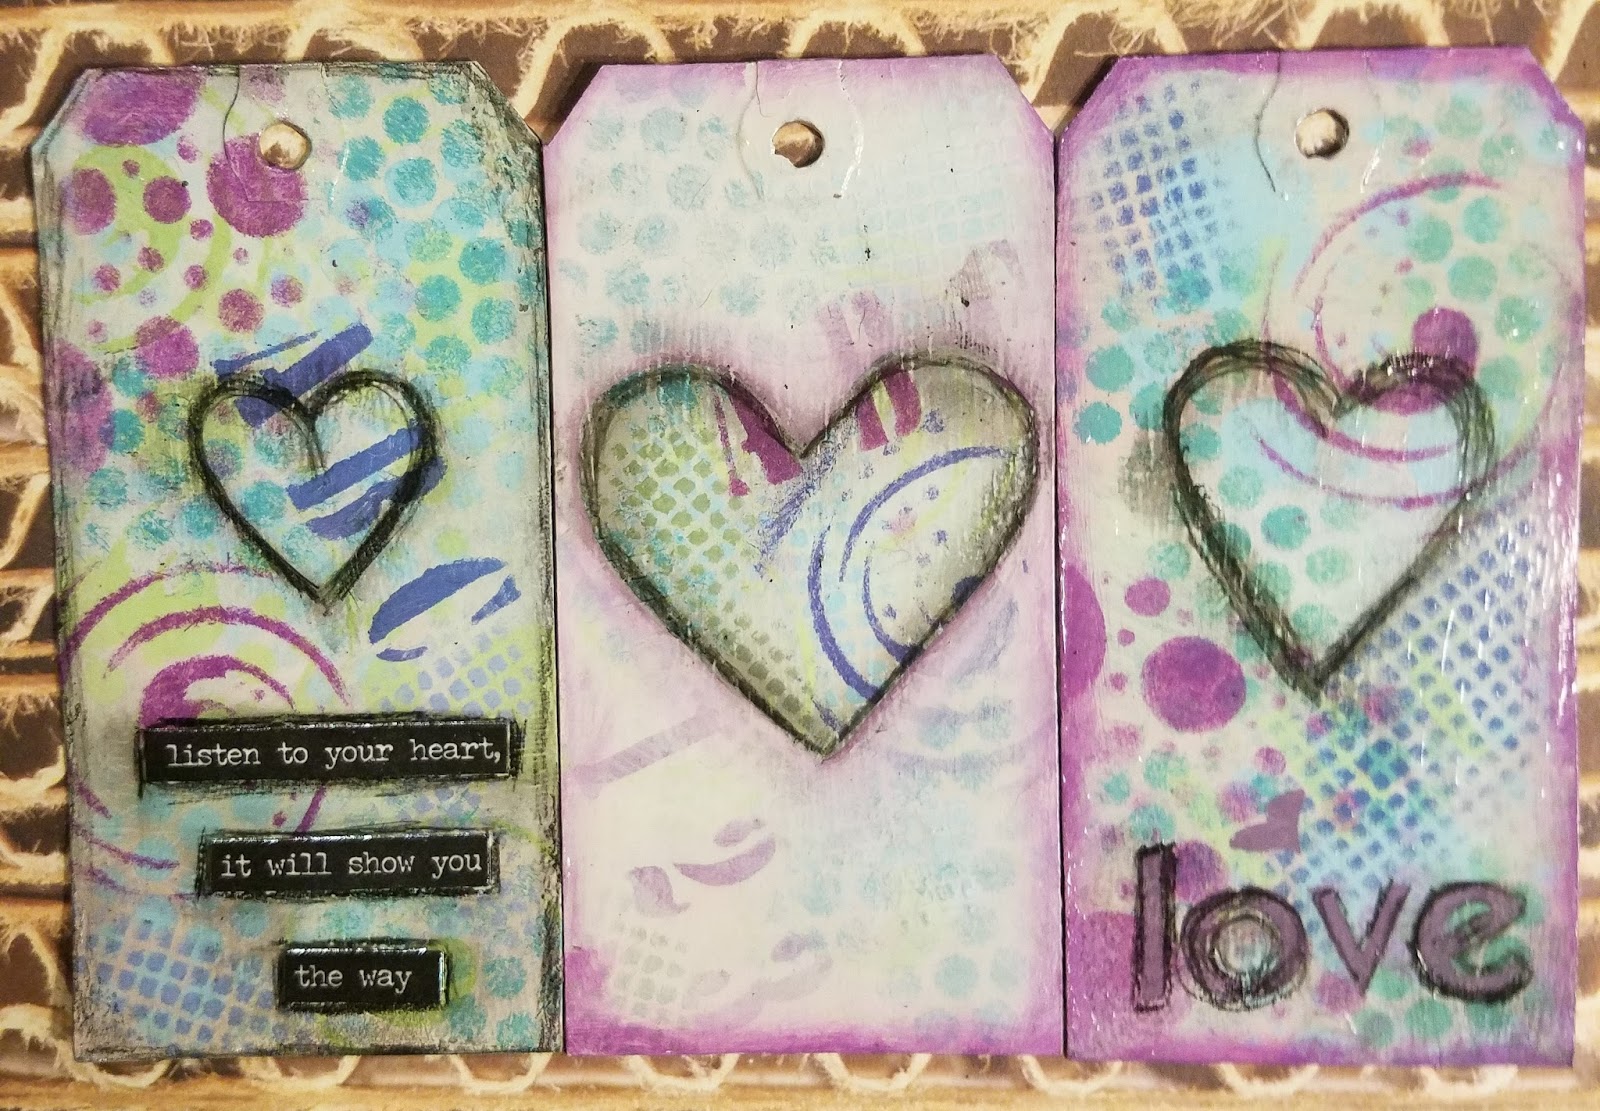
I love my regular decorative painting, but I have to admit, Mixed Media calls loudly for me to #create! 😉

I have shared so many times that I think anyone can learn to paint, if they are willing to put in the practice.

To me, Mixed Media makes art accessible for anyone to create. I am not saying it takes no skills, but it is so wide open, that one can bring their own special talents to it, without having to know the basic strokes of Decorative Painting, or tole painting.

I continue to share my process, in the hope that it will inspire you to pick up your supplies.

Again, I encourage you to USE WHAT YOU HAVE.

I am a DecoArt girl, but that doesn't mean you can't use other things--I just don't want to think about it, though.😉😊😂🤣

To begin, I used DecoArt Decoupage to glue on a piece of tissue paper to a 6 inch wooden canvas.


I used my catalyst to smear Prussian Blue onto the piece.

Now--my catalyst. A fun silicon wedge to move paint around.  Don't have one? Then use: an old cash card, palette knife, finger, or spatula (yep, artists often raid their kitchen!😉)


I repeated the process with Aqua Sky.


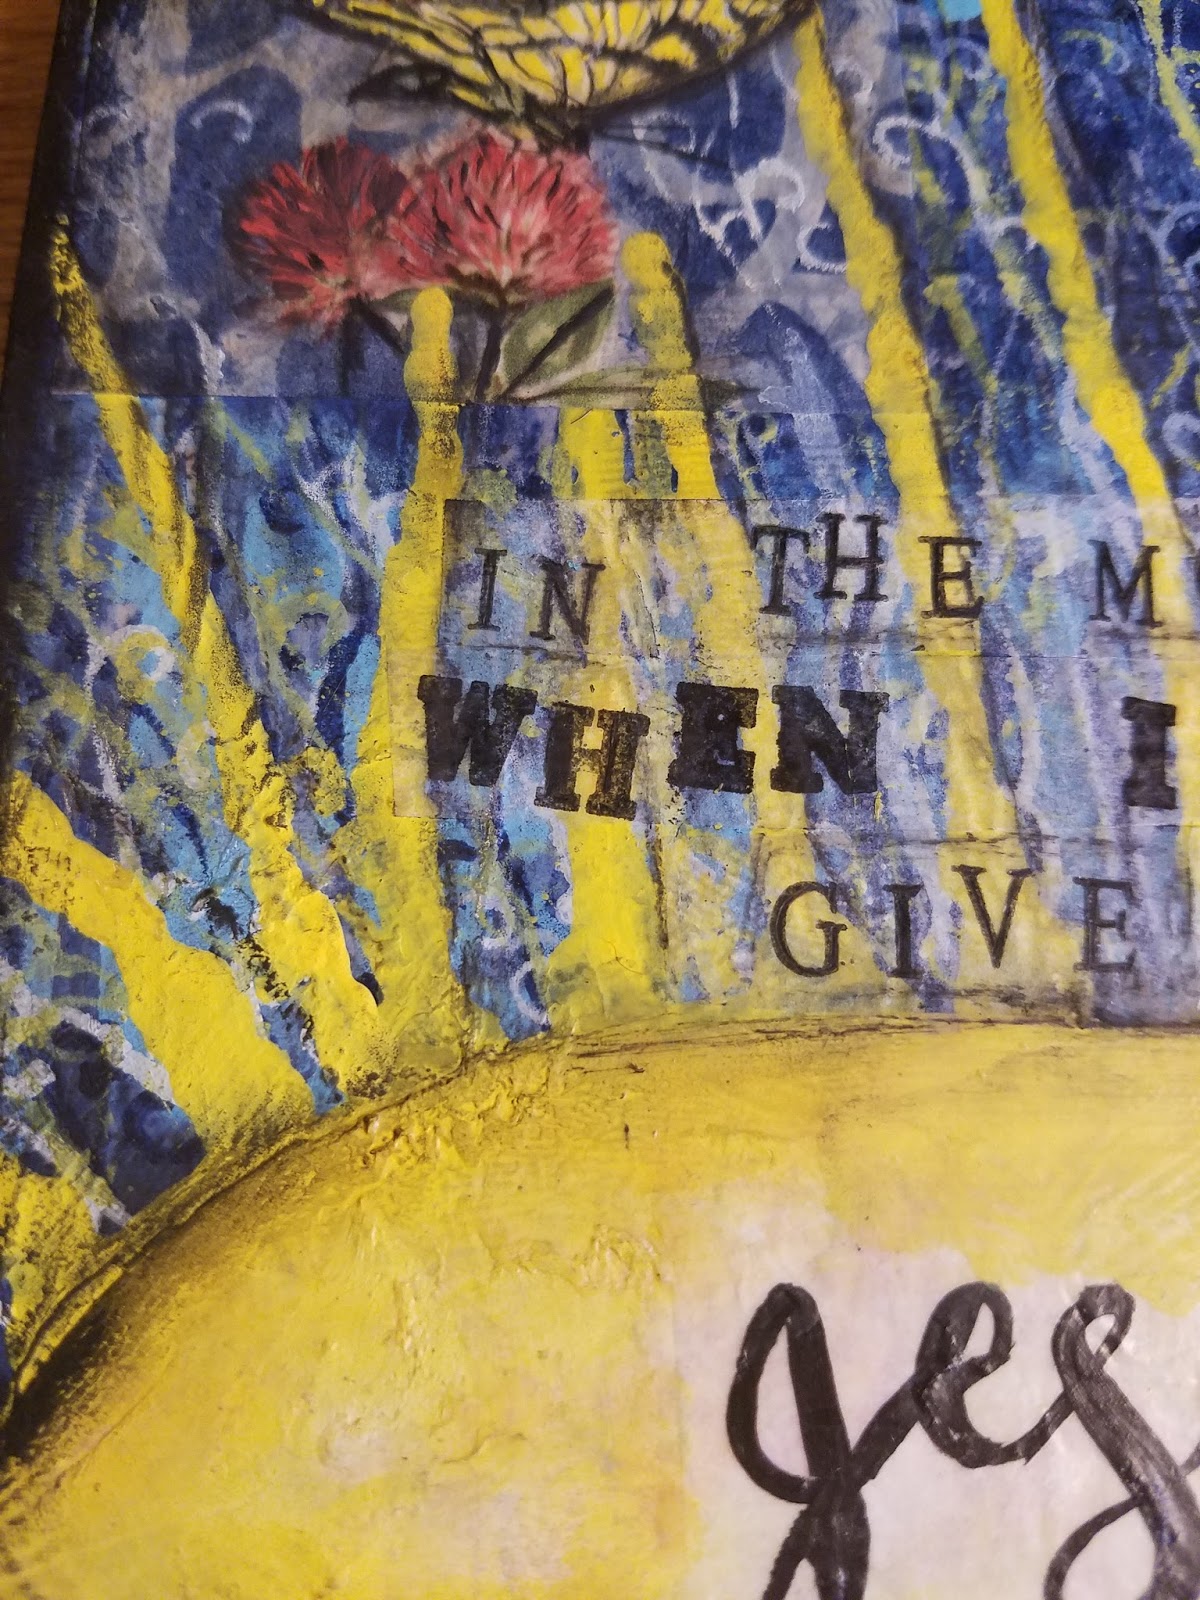
I printed a map from The Graphics fairy and painted a "sun". The butterflies that were added, also came from The Graphics Fairy.

If you have an ink jet printer, spray them with a clear varnish before adding paint to them, or the ink will smear.


I glued it onto the bottom with my Matte Decoupage.


I grabbed a sheet of deli paper --yes, it is what they use to wrap sandwiches-- and stamped my saying. I hand-wrote the word "Jesus".


I used stencils by Decoart to add texture to the background.  That is my favorite thing about Mixed Media--texture! 😁😊


The above stencil was used to create the sun rays, using the 4 colors below.


Another stencil I used. My thought with this was direction. That no matter what road we travel in our journey, Jesus is with us. I think the journey is better, and much easier, when we Rise with Jesus.


Now, a lot of what we do to build layers isn't often seen in the final design, but each element plays a part.

It is just like life --we each carry scars and tear-stained lives, but we get an opportunity to heal...to become a new creation. The old is past, and needs to stay there, but we must learn from each encounter. It is part of life to be hurt, but we have the choice to forgive, freeing us from the chains that bind us. We get to SHINE...to bloom into a new and improved version of us!

How cool is that!

Maybe that is why Mixed Media calls for me...maybe...


I used oil pastel around the edges and around the sun.

I also used my charcoal pencil to shade, too.


For some reason, I glued the square of the graphics, instead of cutting around it. Ok, I was lazy, but no problem, I added the elements of the background, and they melded together--oh, a cure for the lazies! 😁😂🤣😃


I hope that you make room and time to create! It will feed your soul and make you a happier, yes, easier person to be around.😉

I am simply blessed
to create~charlotte ♡


Friday, February 23, 2018

My Italian Girl

Hey y'all...

I have been a busy girl, so far, this year. I have created 14 new patterns that I will start sharing soon.

I am working on my last immediate project, due this weekend, so while waiting for paint to dry--yes, it is a reality in my little corner of the world--I created this sweet little girl.


I forgot to take pictures of step by step...sorry...

I told you about my friend from Italy, Franca Marzi, sending me her stencil.

I could not wait to use it.

I used all Deco Art products.

I attached the paper with Decoupage.
I added some drips and then used Fluid Acrylics Burnt Umber mixed with Glazing Medium to "stain" the piece and to make it grungy.


I added dictionary pages on the side.
I cut strips into scallops.
I also put a scalloped strip across the top.


I stenciled the design with black.


 Here she is...


I lightly painted around the design with thinned Antique White.


Layers and layers of paint on her face--at one point,  she looked like Groucho Marx! 🤤

Whew, I am glad it is JUST PAINT!


I used my new Stencil Girl stencil to add a few words...

An Americana stencil to add daisies..

A stabilo pencil to add shading...


A stabilo pencil is so much fun. It is activated with water, so if you use it, you have to spray your piece with a fixative! You can get the pencils at Dick Blicks, or probably anywhere that sells art supplies.  The one I have is 8008.

This was fun!

Hey, if you are a painter, go buy my friends pattern. It is her first one. It is a cutie. Show her some LOVE.

I don't do a lot of things right, and I make more mistakes than I should, but I am pretty good at encouraging my friends, so help me encourage her.

Here is the link to go buy her pattern

Thanks for stopping by my little corner of the world!

I wish you friendship...blessings...peace...wonder...
hope.

I am simply blessed
to create~charlotte ♡


Saturday, February 10, 2018

A Bookmark of Love


I have met some of the sweetest people on Facebook.

I met Franca Marzi when I left a message on her Piccole Passioni page. Not knowing if she spoke English or not, I left a message for her, anyway. 😉😊😋

It was the start of a loving friendship.

I got this awesome Gift from Franca in the mail, all the way from Italy.


I cannot wait to use this stencil. 

I also got one of her mixed media bookmarks.

It made me go get the tags I had ordered in December with hopes of creating some tags.

Franca's Gift has inspired me to share this process with you.

These tags were purchased from my favorite Amazon Prime. Search AVERY 11005 and it should come up.

They can be picked up at office supply places, also. 

Or find something similar at your local craft shop.

Gather some supplies
DecoArt Stencils
Punchinello
Dry Wall Tape

I can't say this enough--use what you have! Crash your stash!!😁😂🤣


White Gelly Role Pen
Extra Soft Charcoal Pencil
Dictionary Page
Alphabet stamps


Of course, DecoArt Americana Paints
Use your favorite colors!


I began by painting both sides of my tags with Black Gesso because I could not find the white Gesso. I did find an empty bottle.😕


I brushed on some pink, some blue, some green, some pink, some blue some pink...lol


I just started adding stencils with different colors. There was no method to my madness. I just had fun.


For the middle tag, I drew a heart and then painted a very thin coat of pink around the heart. I wanted the stenciled work to show, but also wanted to emphasize the heart.

I finished everything by outlining it with my extra soft charcoal pencil.

Be sure to SPRAY the tags if you use charcoal or a brush-on varnish will smear it, and it won't be pretty.


I did this set using my fingers to add the paint.  It made me feel like a true mixed media artist! Lol😉


I painted my dictionary page with red and pink and then cut out my hearts.
I glued them on with DecoArt Decoupage Matte. I love that stuff!


I covered all my tags with 2 coats of Decoupage on both sides before I did my charcoal work.


After the charcoal work, I sprayed them with Matte Varnish.

I will add ribbon and they can be either bookmarks or tags


Do not forget to finish your backs!


For more tag ideas, visit an earlier post to refresh your idea memory! 😁😂🤣😃


Thanks for stopping by my little corner of the world.


I am simply 
blessed to create~charlotte♡


Wednesday, January 24, 2018

Mixed Media Magnets

I told Christine, the other day, that mixed media tugs at my heart.

I love the layers and the textures.
I am not a fan of weird stuff, though, and I don't care for flowers and such stuck on the design.😁😂🤣😃

What I enjoy about it, is that I feel more people can do it without fear of failure, because, really, anything goes.

I want people to feel they can create! 

I needed a quick RAK the other day, so I pulled out some circles to create a quick magnet.


I had some tissue paper left over from a previous project, so I tore it into small pieces.


Grabbing my favorite DecoArt Decoupage, and  using my finger, (I think that makes me a REAL mixed media artist😁😂🤣😃), I smeared the glue all around and added the paper. I didn't worry that it overlapped the cicle, or that it wrinkled, I just made certain that it was glued well.


When it dried, I simply used a piece of sandpaper (a fingernail file works well, too), I gently sanded the edge, from the top down, and the excess  paper peeled off perfectly. This sure beats trying to stay inside the edges! 

I grabbed the DecoArt Gel Stain to cover the backs. I did this while the Decoupage dried.  


AND, since a piece of punchinello is most always within reach, I stenciled Red on the back. Pouncing your brush up and down, this literally, took about 5 minutes to completey Cover the backs. It is so worth it to get a finished look.


I added a few dots to the fronts. 
You know, these look pretty good just like this...add a favorite word or phrase, and it would be a great RAK.


I thought I would use my DecoArt fluid acrylics.

The top left circle has 3 colors--a turquoise, a purple and green gold. I love the transparency! See the red dots shining through!

The circle on the top right uses the exact same colors, but I added white to them. They became opaque, but you can still see through them a bit.

The middle left is the Turquoise.

The Middle right is only the purple.

The bottom is the Green Gold.


I added my favorite stencil over these to show how easily it is to add texture.
Again, you can stop here.


I decided to add a heart using my new stencil girl stencil.
Again, use very little paint in your stencil brush, punching in an up and down motion.


I love the mosaic look.


Pretty cool, huh!


I added some line work.
I added Shading with my fudeball pen.
I sprayed it with a Satin Varnish
When it dried, I added words using the Matte decoupage.


I like it!
Fun, Fast and Fabulous!

I am simply blessed to create~charlotte♡