Do NOT say you CANNOT, instead TRY!
When I had my make it/take it classes, I had several
people who told me that I had a gift to break down steps that helped to
make painting simple.
I took that as a great compliment.
 |
| DecoArt is my favorite brand of paints and I have used them for over 20 years. I added Fabric Painting Medium to my regular acrylics. I am so happy to be a Helping Artist with DecoArt. |
I recently got an order for 36 of these little bitty
canvas bags (about 5 inches square) and I thought you might like to see
how easy it is to paint a pumpkin on canvas...well, actually, you can
paint it on ANYTHING, but if you do, you will probably need to use
better brushes.
 |
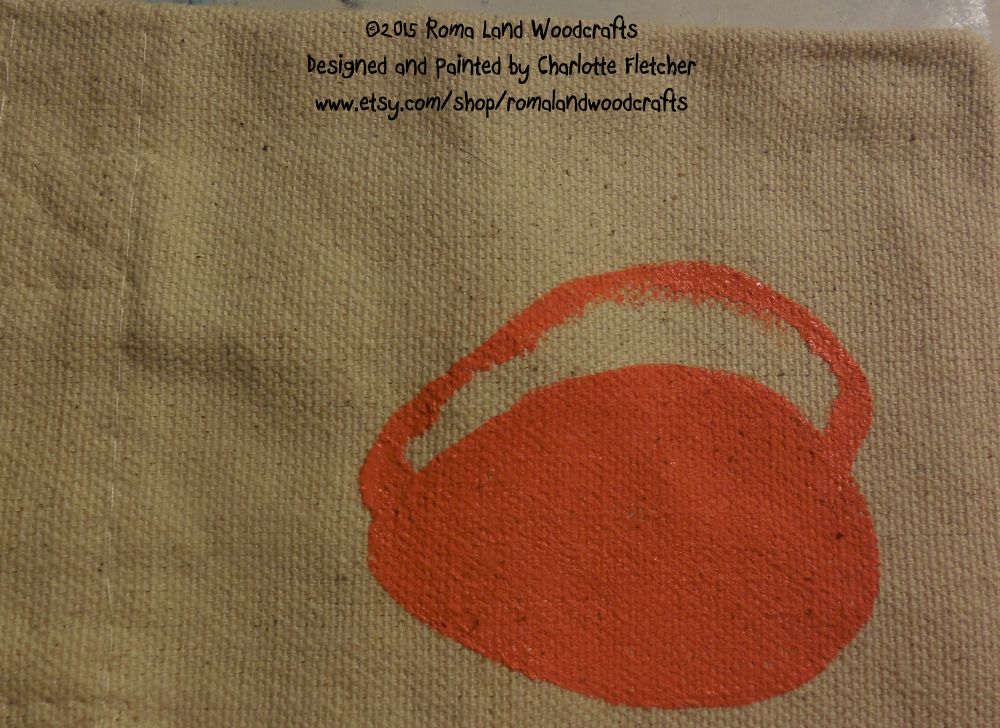
| draw an squished circle...and color it in |
Canvas is a rougher surface and I find that those CHEAPO
white bristle brushes are perfect for painting on canvas...sure they
shed like crazy, but just let it dry and wipe them off~~no biggie.
 |
| I turn my surface in all directions when I paint...draw the right "hump" onto the center "hump" and color it in |
I was out of those cheapo brushes, so I just used what I had...something we should all learn! (preaching to the choir, huh?)
 |
| Draw a left "hump" onto the center hump and color it in...that is the shape of your pumpkin! |
IF you absolutely do not wish to paint, you can create
these using your favorite medium of choice~~these would look GREAT made with bling~~draw on the pumpkin and glue the rhinestones/sequins/glitter on...
 |
| With the same brush you were using, draw the corner through the brown paint |
Or
you could use fusing material (yep...it has a name~~no clue at the
moment WHAT it is!) and add fabric pumpkins...again, you can outline
them with bling...
 |
| I showed how to shade each section, but if you wish, you can go around the outside edges and then add the two center lines |
Do I seem to be stuck on BLING???
Hey, a girl can NEVER have too much bling...or can she??
 |
| with the edge of your brush that has the brown paint on it, shade the outline of the pumpkin...this is just exactly like taking a pencil/marker and drawing around something, only you are doing it with a brush. |
If you stitch, then stitch on a pumpkin...or use whatever YOUR FAVORITE craft is...just USE your talent.
 |
| add some lines to add some dimension to the painting...you don't have to do this, but I think it adds a lot for such a simple step. |
I think these would make awesome gifts for your upcoming Thanksgiving Holiday...or make them with Christmas designs (by ALL means, do NOT leave them simply painted RED...I don't think my soul could stand the stampede of HATERS...)
 |
| using a liner to add the stem and the fancy smansy line, which is easy to do if you go slowly! |
SO, I have all these bags, what do I do with them?
 |
| Pulling your work TOWARD you is so much easier, so again, upside down the pumpkin goes as I add the line work, The stem is simply the dark chocolate. |
WELL, you can fill them with pip berries, as I have~~hang
them on a doorknob, the spindle of a chair to help decorate the table
area...hang them on a peg or the knob of a side table/dresser...
 |
| Add Honey Brown to the stem to add a highlight |
OR fill them with: Candy, a candle, supplies to make one of these,
a piece of jewelery, supplies for a cheeseball or your favorite spice mix...really, any
small gift can fit in these and if you wish, personalize them~~EVEN
ADULTS love to get personalized gifts!!
 |
| With an old scruffy brush, load some Marigold on the bristles, but wipe almost ALL of the color off...then scrub this in the middle of each section as a highlight. |
In each of the pictures throughout this post, I have shown you step by step how to paint a pumpkin...it really is that easy!
The pumpkins are painted wet on wet...meaning the paint
is wet when you do the next step and this helps to blend the colors
together and makes them very fast to paint....but be very careful not to
get your hand in it and smear it...but if you do, take a clean cloth
and wipe off the mess and continue...
 |
| DONE!! |
You don't have to worry about the shape of your pumpkin because they come in all shapes and sizes!!
Have fun creating...Get family and/or friends to have a craft night or day...it builds friendships and gives you LOTS of laughs...
Do not worry about not being a pro...the only way I know to get better at something is to keep practicing, unless, well, you are a GENIUS and able to create on demand, and in that case, you are one lucky dog!!
Embrace the creativity in YOU...Share what you love to do...and ALWAYS pay kindness forward....Blessings to YOU...~charlotte


Thank you for a wonderful lesson!
ReplyDeleteThey look great Charlotte......and wonderful tutorial!
ReplyDeleteThey are adorable. However, the tutorial looks easy but a painter I am not. I can't do a curly for a stem, mine come out sorta - deformed and not natural looking.
ReplyDeleteI love these little bags.