About Me

My photo
I LOVE to design and to paint whimsical items that will put a smile on your face. Each day I share my simple life with you as I try to encourage, to inspire and sometimes JUST to make you smile as I recount my life growing up on a dairy farm! I've never had many material items in my life, BUT I have been blessed beyond words with love and encouragement from WONDERFUL Parents who instilled in me WHAT was important. I have had EVERYTHING that I needed and WAY too much of what I wanted. I am slowly learning to be a better person each day through my interactions with my friends on Facebook. Some day I hope to be as good as people seem to THINK I am! I am BLESSED! Welcome to my little corner of the world...Please stop by and visit often!
Showing posts with label DecoArt Acrylics. Show all posts

Tuesday, September 13, 2016

Technique Tuesday: DecoArt Americana Chalky Finish

I cut out some wood yesterday and I saw this little creamer I had bought in the past for 49 cents, so I gathered it with my wood and carried it to my painting table--what is one more thing in my pile, right?

I had decided that I was going to use Chalky Finish Paint to paint the scarecrows I was making, so I quickly cleaned the little creamer and also grabbed a baby food jar, that--surprise, surprise--was also sitting on my painting table!  LOL

I thought this would be a good test to show you WHY I love DecoArt Chalky Finish paints.


New Life is one of my favorite colors.

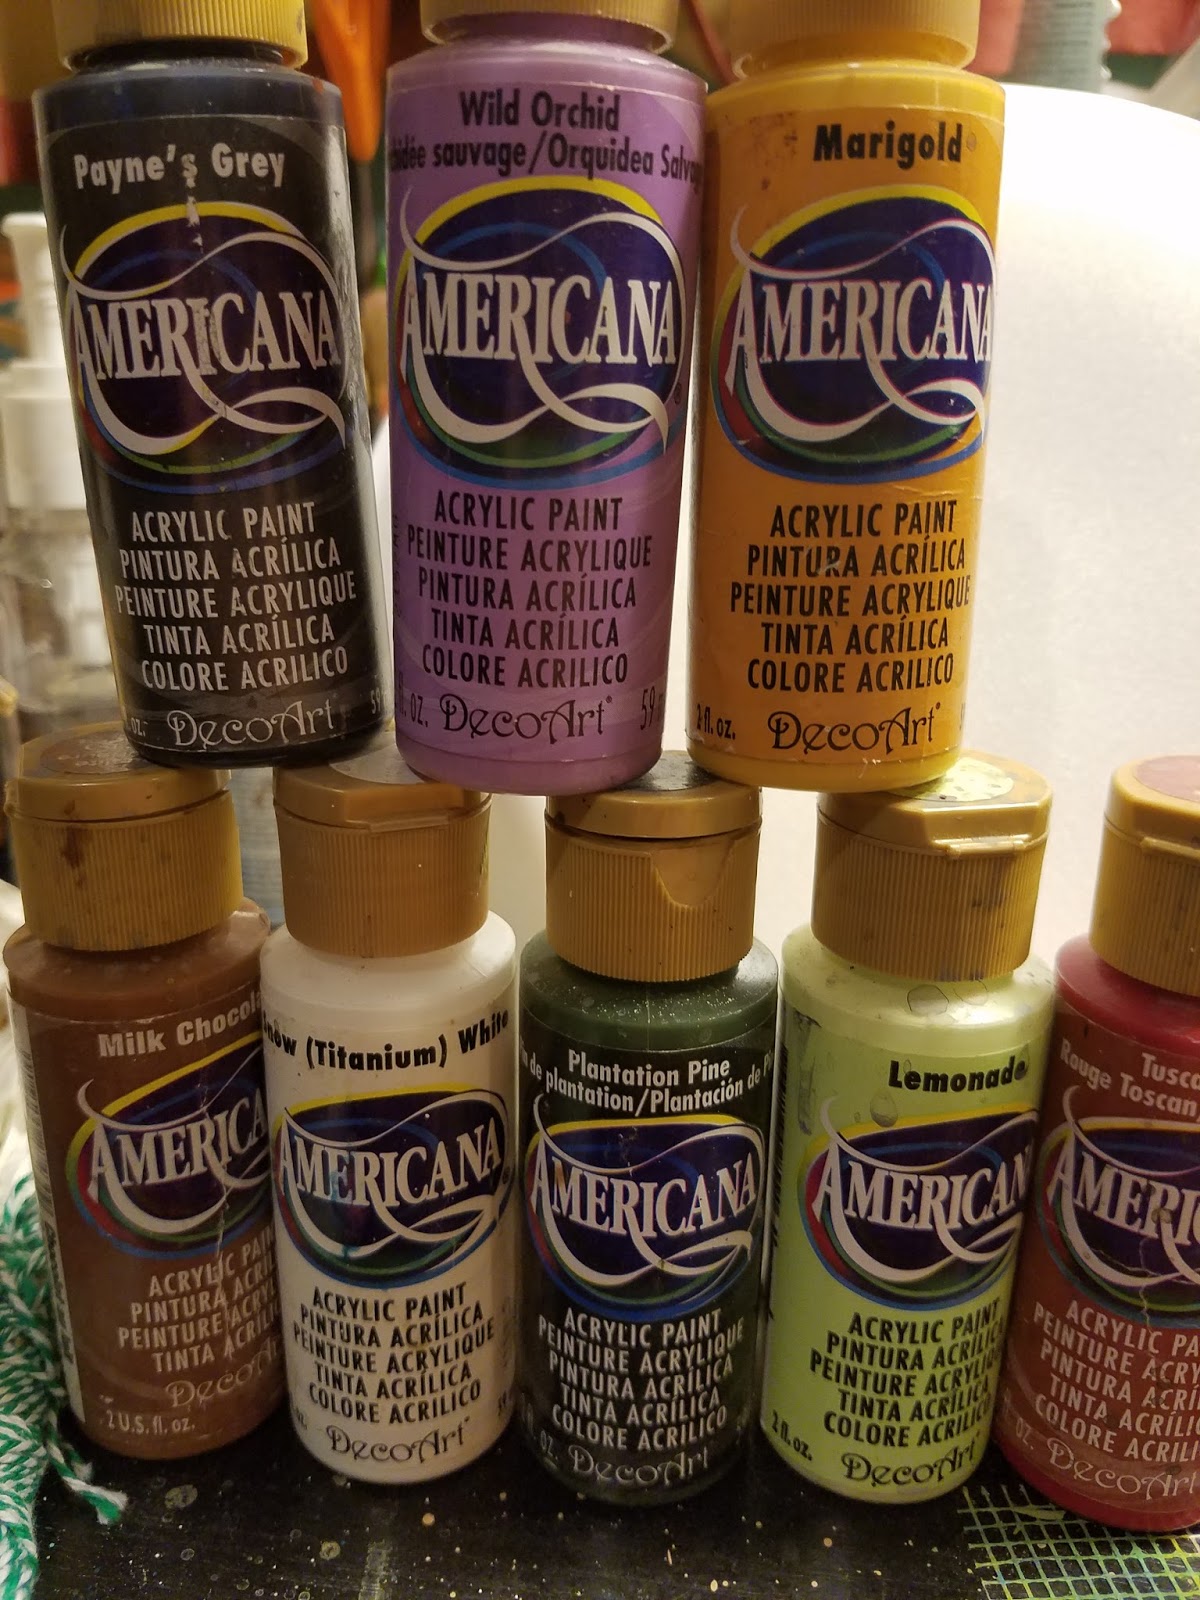
These are the colors that I used to paint my little projects.


All I did was clean the items.


This is the first coat--don't lose hope--it will be ok.
Be sure to allow the paint to dry completely 
before adding another coat.

*IF your chalky finish has become too thick, simply add water.  I dip my brush in water and that usually makes it flow off my brush.

*No, you simply start painting--you don't have to prep the surface, except for making certain it is free from dirt/oils.


I think I added 3, maybe 4 coats of paint to the project.  
It dries so quickly, that it is easy to lose count.

This shows the first coat to the top of the baby food jar--
no problem painting on metal, either!


This shows the second coat applied--pretty amazing, huh!


See how smooth this is!  
Yes, sometimes the brush strokes show when painting, 
but you can prevent this by thinning the paint more...
Personally, I like just a bit of the texture it creates.


I decided after I got the baby food jar painted, 
that I wanted to make an ornament.  
I drilled a hole in the top.
I Gathered a piece of ripped homespun material for a hanger.
I found a stylus to use to push the material through the hole.


I used needle nose pliers to pull the material through 
and tied a note in it.


I free-handed the message with a White Charcoal pencil and painted over it with Titanium White Americana Acrylics. 
When the paint dries thoroughly, I take a clean flat brush, and wet the surface and it removes the White Charcoal pencil...
just carefully wipe it dry.

*Yes, of course you can use DecoArt Americana Acrylics 
on top of The Chalky Finish Paint!  
DecoArt Chalky Finish Paint is one of my favorite ways 
to create a background!


I drew a branch and added some pine needles and berries.
I flecked Titanium White onto the entire surface, 
placed the top back on and WOW!!
Isn't it adorable??!!


I found a saying that I liked and wrote it across the top of the creamer...
Added flowers...
Sealed it with DuraClear Soft Touch Varnish.


Of course, I wouldn't leave you hanging without 
giving you a little pattern.  LOL
I do, however, wonder if anybody has ever used 
one that I have given to you!  =)


Oh, well, we will pretend that they make you 
happy to get them, and leave it at that!!

I wish you a wonderful week and 
I hope you get to create SOMETHING.

I am simply blessed to create~~charlotte♡


Tuesday, July 26, 2016

Technique Tuesday

I love when I play and it turns out to be pretty cute!!

I think this recess period was a SUCCESS...

I gathered one of those $1 frames from Michael's (wonder if it is still $1!)
I took an old soft scruffy brush and DecoArt Decou-Page Matte.  

I applied the Decou-Page VERY thick on the front of the frame and inside where the picture goes.


I wrinkled the tissues paper that I had into a very tight ball and opened it carefully.  Don't sweat if you tear it, because you can easily apply another piece on top of the tear...so, no stressing during this project!


I cut a hole in the center (over the picture opening) and a line to each of the four corners so I could push the tissue paper over that edge...


This is the back.  I carefully trimmed the tissue paper. I applied a generous amount of Decou-Page to the edge and a little onto the back and carefully stuck the paper into the Decou-Page.  Again, no problem with torn edges.  I had a few and I simply applied another piece of wrinkled tissue paper onto the tear and gently added more Decou-Page to adhere it.

When this was finished.  I applied another generous coat of Decou-Page on top of the tissue.  I used a pouncing motion to make certain the paper had made contact with the glue underneath and also to make certain all the cracks and crannies were covered with the Decou-Page...no worries, again, because Decou-Page dries clear!  I used my hair dryer to speed the drying and then went and ate my supper...Priorities!!


I turned the piece over and did the same to the front.  I made certain to cover all the tears on the edges and any that were on the front.

I don't want to brag, but this is a miracle for me~~I only got just a little bit of glue on my pointing finger of my left hand!  That never happens with me!  


While doing this, a GREAT thought hit (and to my knowledge, there was no natural disaster that happened when I had the idea...again, it is VERY dangerous when I start to think!)

I went to my little clear container of all things rusty (bells, stars and snowflakes, anyway) and pulled out a package that I had bought at Hobby Lobby several years ago.  

DISCLAIMER:  People, THIS is why CRAFT STORES stock Christmas items early!  We are NOT all a machine who can paint for our crafts shows ONLY at the appropriate time of year, deemed by you who sit in judgment of retail...heavy sigh...SO, you might want to excuse yourself from the rest of this project since I DID probably purchase these snowflakes during JULY!!!  I most certainly would not want to MAKE you look at a WINTER item when it is 100 outside...

OK...Sorry...it frustrates me, but I am now back to my cheerful self and will tell you that I cut the jute off of the snowflake ornament and covered the hole with DecoArt Dimensional effects,  Paste or Snow Tex would work fine.

I also cut a piece of Acrylic Paper to go in the center.


Can you tell where the hole was?


I stippled Titanium White onto the snowflake and also onto the frame to form a snowman/woman (hey, I am trying to be politically correct, here, folks...LOL)

I lightly stippled some Teal Green on the left side, under the head, under the belly and where the pieces of "coal buttons" will go~~this is an easy way to add a shadow and anyone can do it.  If it gets too dark, just go over it with some more of the original white..


I added the face, coal and a tree...I added the face to the Snowflake...I dry brushed Payne's Grey around the edges and then, why stop there, I added some of top of all the "bumps" of the texture.  I had every intention of stopping there and flecking White on the piece, but I stuck my hand into a tub of treasures that stays on a shelf and grabbed some Metallic Lustre...I thought I had grabbed the Gold, and when I opened the top, I thought it was such a pretty deep gold...when I looked it was Orange Flicker...I LOVE IT!!!

I love those serendipity moments~~even in ART!
And here you have 
Baby Snowflake's First Picture! 

You are more than welcome to create one for yourself!
If you do, share it with me...
I love to encourage...

I have not used any techniques that require many years of practice...HOWEVER, the more you practice, the better you get!


I want YOU to know, that IF you want to do something, 
YOU CAN do it!


There are so many ways to do something and we have all found ways that work for us, but hopefully, we all are still trying to learn.


And, by all means, USE what you HAVE!
I use DecoArt because I think they are the best that I have tried!
I LOVE that they are made in Kentucky, 
which is not too far from where I live.
That MATTERS to me.


I hope that I have inspired YOU to create SOMETHING today...It doesn't have to be paint.
Do WHAT YOU LOVE...
Take time to do it as a TREAT, because when you are HAPPY and lost in your passion, then YOU become a better person and THAT makes your corner of the world a better place!
I am simply blessed to create~charlotte♡


WOW!!  

Tuesday, July 12, 2016

Technique Tuesday


I have been in several groups, and I am always amazed at people who have been painting for a while (no, I am not talking about those who are new to the medium), who ask, “how did you paint on that surface?”


Sigh…


BUT then, I snap myself back into reality, and realize, IF you don’t know, YOU don’t know!


Now, with that being said, I am also amazed at those same people who keep asking the same question~~especially since there is this wonderful tool called GOOGLE… (or even Pinterest)


Have you met Google?  ROFL…she is my constant companion!  ROFL


BUT then, I again, snap myself back into reality, because I have NO CLUE what is going on in that person’s life.  I have no idea of the possible struggles going on in their life.  Sit down for this next statement (I will hum the JEOPARDY theme as I wait…) OK~~I TOO, ask dumb questions on occasions~ ~ GASP!!!!!  (I know…I will hum the JEOPARDY theme again, as I wait for you to recover)…. AND then, there are some people who just ask instead of searching…


It is OK, because we are ALL different and we MUST, somehow, learn to all live together!


A Chris Haughey Design


Now, with that being said, I am NOT going to snap myself back into reality for having mean thoughts for those people who paint, who ASK if a painted tea kettle or tea pot or knife, or serving spoon can be used after it has been painted…NOT going to happen…I cannot make myself understand THAT thinking!


Baby steps, charlotte, baby steps…


Since I am one that tries to LIVE her own words, I want to be a SOLUTION instead of one who sits and points out PROBLEMS.  My initial intent when I got onto FB was to share the many things I had learned, but who knows WHAT twists and turns that road has taken…I am giving myself a much needed break from that journey…LOL


So, I want to share just a bit about painting a SLICK surface.


Surfaces are basically divided into SLICK surfaces and Wooden Surfaces.  Slick covers an object that paint will easily slide off if it is not properly prepared.  Some slick surfaces are~~glass, plastic, and metal.


When you have a SLICK surface, you must prepare it in some way to give the paint “tooth” to allow it to stick to the surface.


Now, this is where I have problems with painters.  IF you have a GLASS surface, it is a glass surface.  All glass surfaces must have a TOOTH to help the paint stick or it MUST be painted with a paint that is designed specifically for glass.  It doesn’t matter if it is a small glass candle holder or a large window…glass is glass!


There are so many different ways to achieve this “tooth” and anyone who paints for any length of time on different surfaces, develops their favorite method, so I think this is where the confusion starts for painters…they want to KNOW what someone else does.  We are often looking for an easy way to do things, and there is nothing wrong with that.


I want to share just a few options to HELP you become confident in your knowledge.


One of my most FAVORITE products to use is DecoArt Paint Adhesion Medium.  You mix the product in a 50:50 ratio with the paint.  This bottle was painted using this product.  It took several coats to get a good coverage, but it did and the paint sticks!  I applied two coats with the mix, and then added coats of straight paint until it was covered like I wanted.  This pattern was in www.paintingezine.com last year, if you are interested!


DecoArt Chalky Finish Paint is absolutely one of my most favorite paints to use as a background on ANY surface, especially if you want the piece to have a cottage chic or primitive feel to the piece.  Again, it will take several coats, but it leaves a smooth surface.  You must be careful when using ANY paint when painting on glass, because it will easily scrap off, until it has properly cured or been properly sealed.


Just a note about what to call this paint:  The term “Chalk Paint” belongs to a specific paint, and yes, they have sued others who have used the term, so be careful what you call this…The same is true of the term “shabby chic”…it is OWNED by someone out there…I know…all together now~~heavy sigh! =)


DecoArt also makes Chalky Finish for Glass that must be baked in the oven.  I painted this vase that was saved from my Daddy’s funeral.  Yes, I intended to remove some of the paint to give it an old, time-worn look.  This was so simple.  The hard part was waiting the four days to cure before I baked it!


DecoArt Multi Surface Satins are another option for painting on glass.


These glasses were painted with the product.  Be sure to follow the directions on the bottle for applying  AND for cleaning the items.


Another method is to spray paint  your surface with either an Auto Primer or with a FLAT spray paint.  I have used this on dozens of items.  This is a great way to prepare your dominoes~~you can spray a dozen at a time!!  I have used this method for painting  glasses and tea pots.  This Rust Preventive Spray Enamel from the Dollar General Store is one of my favorites!


Lots of people use Frosting Spray, especially those who paint lots of the glass blocks.  It worked fine, but PERSONALLY, I got a weird feeling of insecurity when the spray came off as I was painting it.  I have a FB friend who paints hundreds of blocks this way and has had no problem…I am certain that our humidity in Middle Tennessee might have had something to do with it coming off as I painted…so, I trust Lori!


this was the back of the glass..

My favorite product to use to paint backgrounds on glass blocks is DecoArt Frosted Gloss Enamels…you can’t beat it!  It can be painted on with a brush or pounced on with a sponge.


I hope this will give you a few ideas to HELP you understand there is more than one way to “paint a glass”…Try it…Oh, and there are LOTS more ways, but I am tired of typing and THINKING…LOL


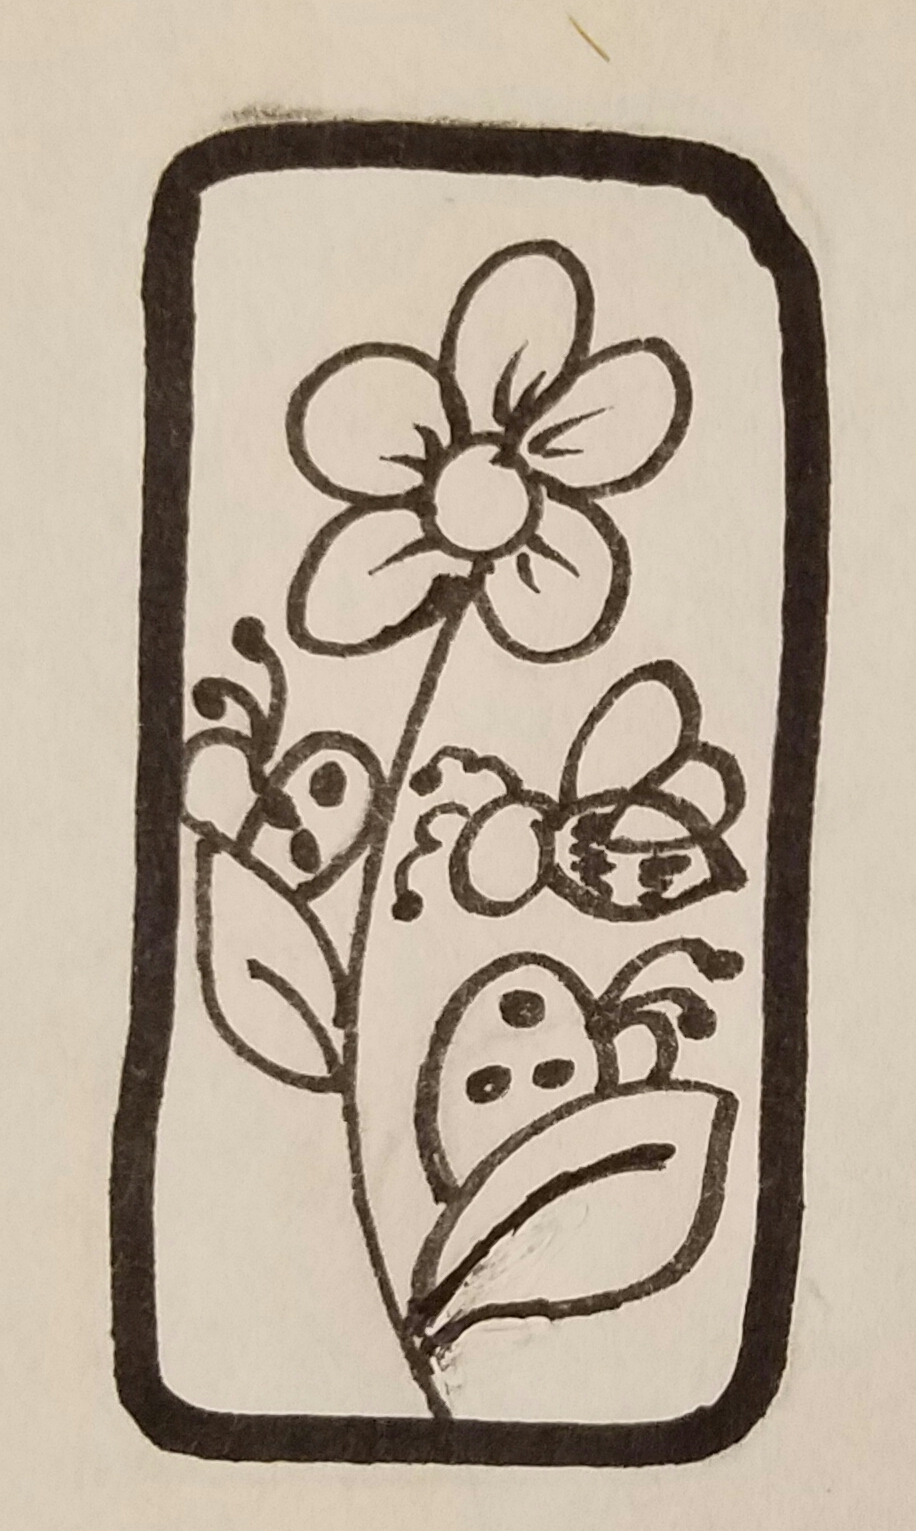
Here is a simple line drawing that I used to paint a domino…put a magnet on the back and give it away as a Random Act of Kindness…our world is HURTING for kindness…Be a reason for people to SMILE instead of being a person who incites people to complain!  It is your choice…


To save, simply click on the picture of the line drawing, right click and choose SAVE TO COMPUTER…I have no clue what size it will print, but just resize it as you wish…It would make a really cute sign, too!  Add a background, another flower or two, another bee and ladybug…You are more than welcome to paint it as you wish, please just don’t claim it as your own, because, well, that “ain’t nice” and we sure do want to play nice!


I am simply Blessed to create~~charlotte♡